

6 Tips for Cutting Glass Perfectly
Cutting glass sounds simple enough, until you really think about how you’re going to achieve the task without cutting yourself, shattering the glass, making a mess, and ending up with a strange piece of glass that looks mildly abused. But this doesn’t have to be your experience.
The reality is that cutting glass is a lot easier than you think. It’s certainly within the abilities of anyone from the DIY crowd. All you need are the right tools and these 6 tips for manually cutting glass perfectly, which we’ve outlined for you below.
Tip 1: Gather What You Need
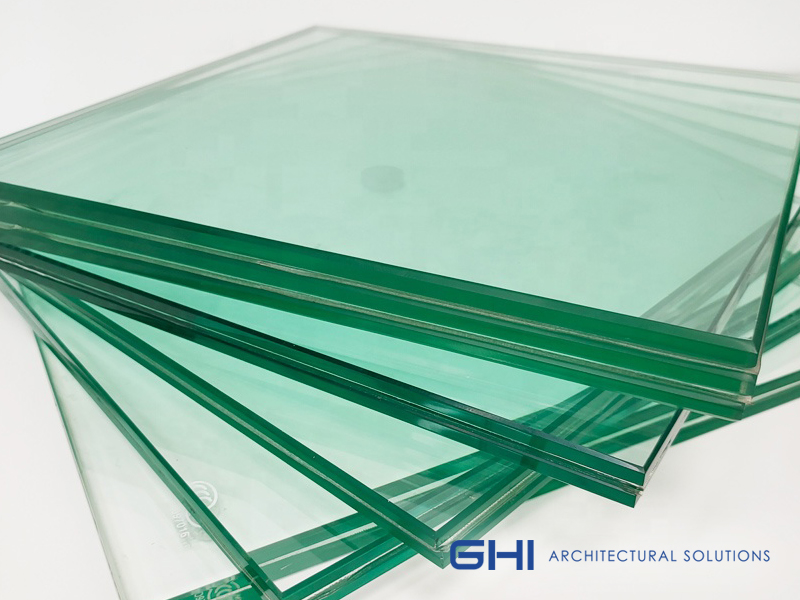
Clearly the first thing you’ll need is glass, but not just any glass. We recommend starting with glass that’s 3-4mm thick because it’s easier to work with on your first couple of times. You can move onto thinner, more fragile glass once you’re comfortable, like 2mm for picture frames, or something thicker, like 5mm, which takes a bit more oomph to break.
There are a number of accessories that you can use, like circle cutters and suction cups, but initially you’ll want to keep things simple and buy more as you go.
The rest of your accessories should include:
- Glasscutter: You’re looking for something simple to start with; a cutter that fits comfortably in your hand and can make a sharp score so that it breaks evenly and cleanly.
- Oil: Avoid “dry cuts” by using a lubricant, which can be a multi-use oil, or if you can find it, a glass cutting oil to achieve better cuts.
- Measuring tape.
- Straight/angle: There’s no doubt about it, for a straight cut, you need a straight – specifically one that you can put your cutter up against.
- Safety glasses and cut-resistant gloves for your protection.
- Duct tape.
Tip 2: Prep Your Work Area
Prepping things to get going means choosing the right work surface. It needs to be flat, clean, and hard, with no flex. Make sure to remove even the smallest spec of dust and then lay down a thin, damp rag. This will create a non-slip surface later for your glass, advice that you’ll thank us for if you’re worried about the glass slipping out of your hands.
`
Tip 3: Getting Ready to Cut
Once you’ve got the right surface, it’s time to measure and make the cut line onto the glass with a fine-tipped indelible marker. Make sure you measure right down to the millimeter. You don’t want to leave any room for things to go wrong. When you’re starting out, your project is likely to be less complicated, so you’ve probably got some wriggle room, but do practice being accurate.
With measuring done, it’s time to oil up. Assuming you’re working with a basic glasscutter, grab your lubricant and apply to the cutter. For short cuts, simply dip the cutter into the oil and for long cuts, apply the oil directly onto the glass along the length of the cut mark, using a paintbrush so you don’t have extra mess to clean up.
Tip 4: The Actual Cutting
It’s time to cut, or score, we should say! Firmly grasp the cutter, much like in the same way you’d hold a pen, and press the cutting wheel down hard against the glass. Then pull the cutter along the line, against the straight if you’re using one, and right off the edge of the glass – all in one, uninterrupted motion.
Our advice to help make things easier is to keep the cutter in a straight angle right/left and slightly tilted toward you. We also recommend that you only score once and avoid re-scoring the same line. What you can do instead is flip the glass over to the other side and attempt to score along the same line.
Tip 4: Time to Snap
There are two basic ways to break the scored glass, just don’t leave your scored glass to “settle” because the path will develop fractures, which prevents the glass from cutting cleanly when you do come to do it.
The one way is to turn the glass over and use the ball on the end of your cutter to tap the back of the glass all along the scored line.
The second way to break the glass is to place the end of the cutter centred straight under the beginning of the score and then place one palm on each side of the cutter, resting them flat and firm on the glass. Give the glass a good push, straight down towards the surface. It should “pop” apart very easily.
Tip 5: Practice
As you can see, it’s simple enough to cut glass but it takes practice to gain courage and progress to more complex projects. So practice, practice, practice!
Tip 6: Be Safe
We hope this has been helpful to you and you haven’t had to break out the plasters, which you shouldn’t have to do if you’re wearing your gloves. We also urge you not to forget your safety goggles to protect your eyes!
We wish you well on your latest DIY project, and if you ever need advice from the experts then call GHI and a member of our friendly, DIY-gungho team will be happy to assist in any way that they can.